|
|||||||||||||||||||

 |
|
Replacing the window carrier mounts and rebonding the glass
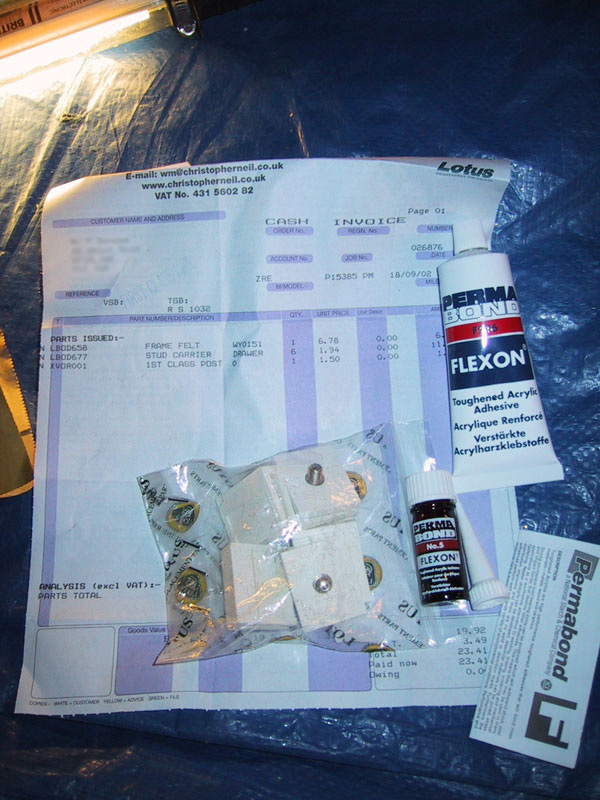
This is a relatively simple job, however access to some of the bolts is fiddly, make sure you have a good worklamp and microscopic hands on articulated joints ;-) You need, 3 window mounting clips per window that needs repaired (Lotus part number A111U0341S - speak to Christopher Neil - They'll know what you mean) and a tube of Permabond Flexion A246 industrial adhesive (availabe mailorder from Glue Line - helpfull guys)
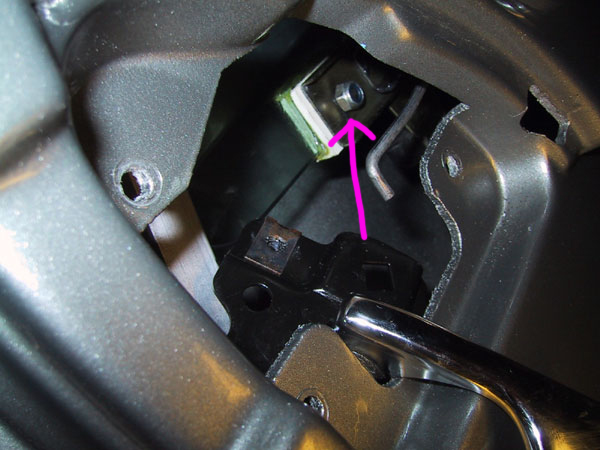
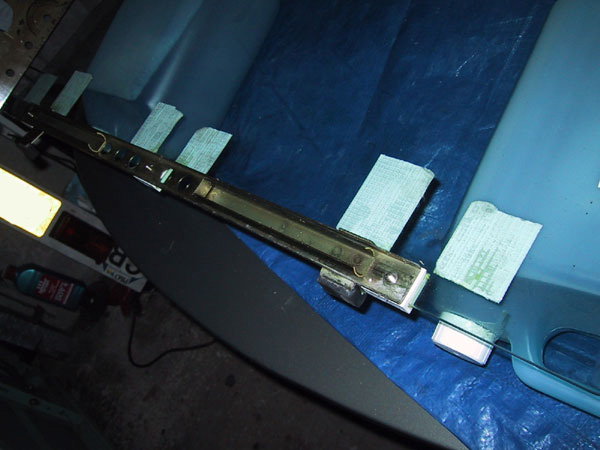
Remove the door plastic cover and the door handle trim, all secured by plastic clips which need to be unscrewed before they can be removed. Remove the plastic splash shield (bit of polythene) from the door aperture, but don't destroy it as it must be refitted. Remove the inner top window seal by simply pulling it off, there's nothing securing it other than it's shape. Unscrew the door handle screws (4 of them) and unclip the door lock operating lever from the handle, the picture below tries to show the clip that holds the rod onto the handle, it's a bit of a pain to release it but it can be done with patience.(Note the use of a small mirror on a stick, a very usefull tool in the Elise ;-))
Once you've achieved this you should be able to gain access to all of the 3 bolts that hold the window carrier clips onto the carrier bar, the 3 following pictures show (in order) the front, middle and read bolts, all of which you must remove, the front one is a pain, take some valium and take your time. Front, viewed from the hold the door handle sits in, you can see the handle unbolted and turned out of the way in the pic.
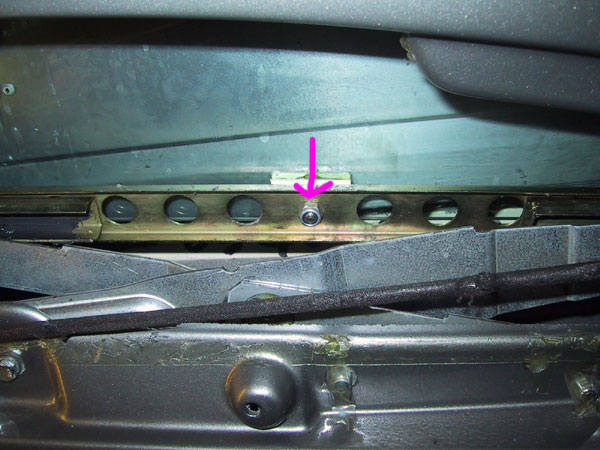
Middle, taken through the main door access aperture.
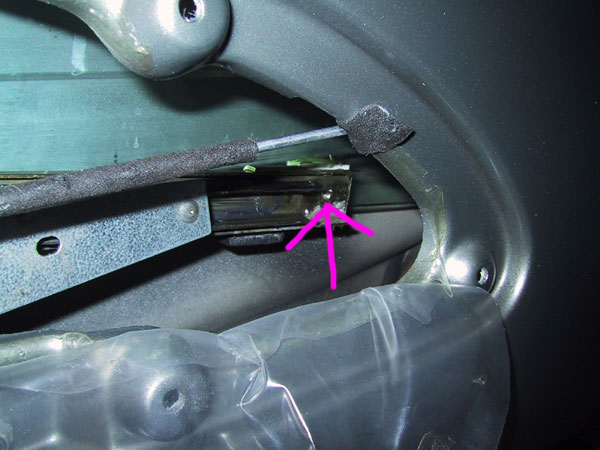
Rear, taken through the main door access aperture.
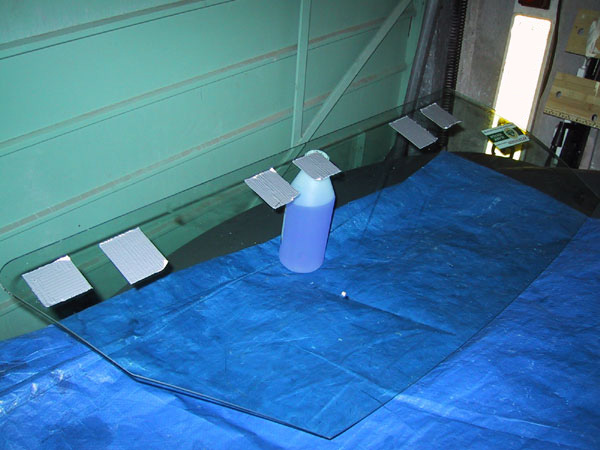
Wind the window up or down as required to gain access to the 3 10mm nuts that secure the window carrier clips to the window carrier and remove them. At this point is will be possible to remove the window glass from the carrier and then door by lifting it up and through the top door seals (you have to be carefull here as the remaining studs can damage the door top seals - so be carefull !) Now, important bit, so listen up !. With the window removed from the door as described above you MUST accurately mark the positions of the plastic clips that were/are on the window before removing them. It is critical to get these positions correct as failure to do so will result in the window not functioning correctly once refitted, and so far you can see you don't want to do this more than once. The picture below shows strips of tape stuck onto the window glass, marking the position of the plastic carrier clips, this pusture also shows the window prepared for re-assembly with every trace of old adhesive removed, this should be done following the marking outlined above, and can be achieved by using a new stanley knife blade and scraping the old glue off, it is critically important that no old glue is left, none at all, not even a wee bit, honest, just like it was never there.
Next stage is simple, but time critical, so read it first. Read the instructions on the adhesive, and note how fast it sets. You must manouver the different parts into position in less than that time, you should also locate (but not bolt on) the carrier bar as shown below, to enure that the plastic carrier clips are correctly spaced (they should be perfect if you've marked out the glass correctly, so this is a double check). Make sure you bond the clips on the correct way round, the studs should point towards the inside of the car in case you forgot to remember !.
Once the adhesive has reached handling strength (give it an hours to be safe) you can remove the carrier bar and remove the marking tape. In the old famous words of haynes, 'refitting is the reversal of removing', and in this case that's exactly the case. Problems you will encounter. The door handle operating rod retaining clip will be a pain to refit, just like it was a pain to remove. The window glass will be a pain to get into both rubber channels at the same time, persevere it is possible. That's about it, simple but fiddly. Sit back and marvell at how smoothly your windows wind up and down, well for an Elise anyway ;-). Disclaimer : All information is supplied as a guide only. No Reproduction or Reuse without prior written consent. © Elise FAQ Team 2002 |